Coordinating Drone Captures Across Multiple Construction Sites
Why coordination matters for multi-site aerial work
Managing drone flights across several construction sites at once is a different challenge from capturing a single location. Each site has its own layout, access restrictions, and stage of work. When you add weather windows, pilot availability, and the need for consistent data, the task quickly becomes a logistical puzzle. A well-planned schedule keeps everything running smoothly and prevents wasted trips or missed captures.
The key is to treat each site as part of a larger system. Instead of planning each flight in isolation, you build a master schedule that accounts for site conditions, flight permissions, and the specific data each project needs. This approach reduces downtime and ensures that every capture is useful for tracking progress or producing deliverables like aerial maps and 3D models.
Step 1: Define the capture requirements per site
Before you schedule anything, you need a clear picture of what each site demands. Start by reviewing the construction phase for every location. A site in early earthworks may need wide-area orthophotos to monitor grading, while a site with framed structures might require oblique imagery to check cladding installation. Different phases call for different flight parameters, such as altitude, overlap percentage, and camera angle.
Also note the site boundary and any restricted zones. Some sites have no-fly areas near cranes, power lines, or occupied buildings. Mark these on a map for each location so pilots can plan their flight lines accordingly. If a site has multiple access roads, confirm which ones are open on capture day. A blocked gate or locked entrance can waste the entire session.
What to watch for
- Check that the capture requirements match the actual construction phase. A site that looks ahead on a schedule may be delayed, changing what needs to be photographed.
- Verify that the flight area is clear of new obstructions like scaffolding or temporary hoardings that were not present in the site plan.
Step 2: Assess weather conditions across all sites
Weather is the biggest variable in aerial capture. A site 30 miles away can have completely different conditions from another. Use multiple weather sources to forecast wind speed, cloud ceiling, and visibility for each location. Drone flights generally need winds below 20 mph, clear visibility, and no precipitation. Rain or fog can ruin the capture and damage equipment.
Build a weather threshold for each site based on its specific needs. For example, a site requiring high-detail 360 panoramas may need even calmer conditions than one where you only need a simple overview. If a site falls outside its threshold, reschedule that capture rather than risking poor data.
What to watch for
- Watch for microclimates. Sites near large bodies of water or in valleys may have fog that burns off later in the day, while hilltop sites might have stronger winds.
- Keep an eye on shifting forecasts. A morning that looks good can deteriorate by midday. Build buffers into the schedule so you can swap capture slots between sites if needed.
Step 3: Coordinate pilot and equipment resources
If you have multiple pilots or drone systems, assign them to sites where their skills and equipment match the work. A pilot experienced with oblique imagery may be better suited to a site requiring facade inspections, while another pilot might handle standard orthophoto flights. Consider the battery and data storage needs for each site. A large site may require multiple battery swaps, while a small one can be completed in a single flight.
Create a shared calendar that shows pilot assignments, equipment reservations, and site access windows. This helps avoid double-booking or sending a pilot to a site that is not ready. National Drone Services uses this kind of coordination to keep its multi-site captures on track, ensuring that every project gets the right data at the right time.
What to watch for
Pilot fatigue is a real concern. Running back-to-back sites across a long day can lead to mistakes. Build in rest periods and allow for lunch breaks. A tired pilot is more likely to miss a safety check or make a navigation error.
Step 4: Establish site safety and access protocols
Every construction site has its own safety rules. Before any flight, confirm that the drone team is familiar with the site's safety plan. This includes knowing emergency exits, first aid locations, and the designated drone launch zones. Some sites require hard hats, high-visibility vests, or steel-toed boots. Make sure the crew has the correct PPE for each location.
Access can be tricky. Many sites require advance notice for vehicle entry. Coordinate with site managers to ensure gates are unlocked and that the drone team can reach the launch area without interfering with construction traffic. If a site is active with heavy machinery, plan flights during quieter periods, such as lunch breaks or shift changes.
What to watch for
Never fly directly over workers or moving equipment. Use the site boundary and flight area maps to keep a safe distance. If a site has overhead power lines, confirm that the drone's altitude settings keep it well clear. When in doubt, ask the site safety officer for guidance.
Step 5: Build a flexible capture schedule
With all the information gathered, create a schedule that sequences the captures based on weather windows, pilot availability, and site readiness. A good approach is to prioritize sites with the tightest weather windows or those that need data for an upcoming milestone. For example, a site that needs imagery for a progress report at the end of the week should be captured early in the week to allow for processing time.
Leave gaps in the schedule for unexpected delays. A site might have a sudden safety stand-down, or a drone might need an unscheduled repair. Having buffer slots lets you adjust without canceling a capture entirely. National Drone Services plans its multi-site schedules with these buffers, so even when something goes wrong, the overall program stays on track.
What to watch for
Be realistic about travel time between sites. A pilot who finishes at one site at 11 a.m. may not be able to start at another until 1 p.m. after driving and setting up. Factor in these transitions to avoid rushing or overpromising delivery dates.
Step 6: Execute and monitor the captures
On capture day, start with a pre-flight briefing for each site. Confirm the flight plan, the data requirements, and the safety protocols. Use checklists to ensure nothing is forgotten. While the pilot is in the air, monitor the data quality in real time if possible. Check for blurry images, missed overlaps, or battery issues. Catching problems early lets you re-fly a section before leaving the site.
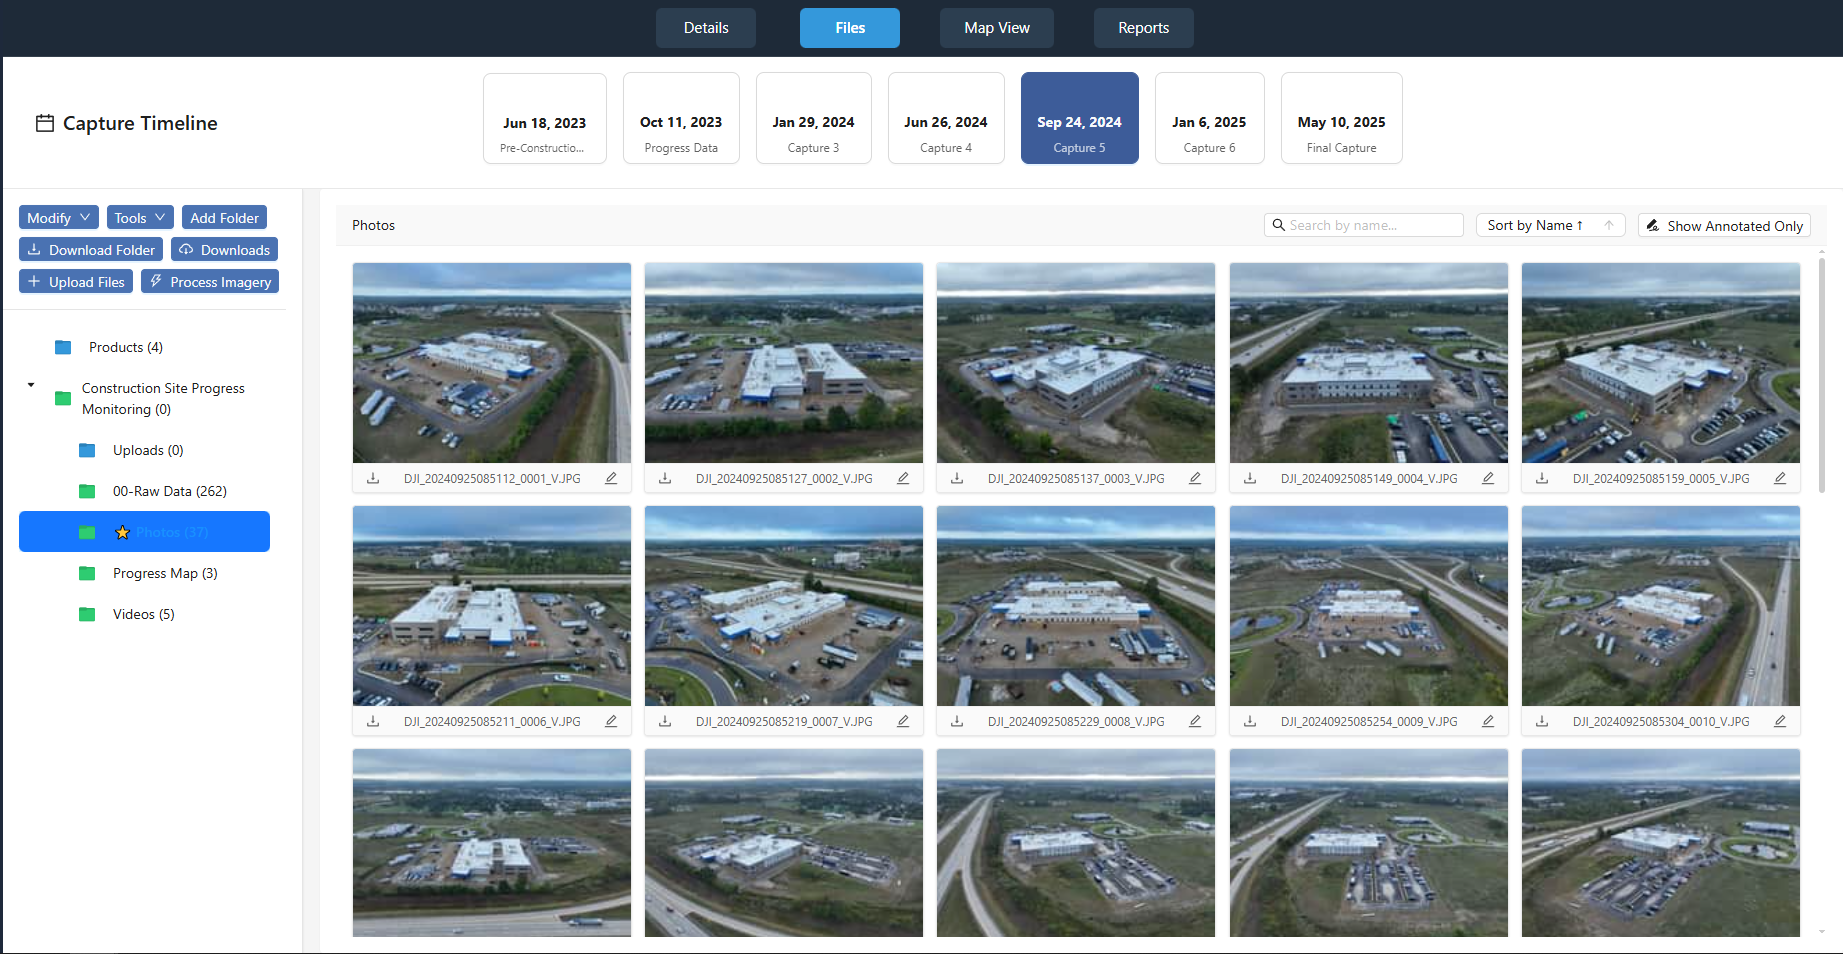
Log every capture with its time, location, weather conditions, and any anomalies. This record helps when comparing data across multiple sites over weeks or months. It also provides a history that can improve future scheduling decisions.
What to watch for
Watch for data transfer issues. Some drones store images on an SD card that must be uploaded later. Make sure the pilot has a reliable way to offload files before the next flight. Lost or corrupted data can set a project back by days.
Step 7: Review and adjust the schedule
After each capture cycle, review what worked and what did not. Were there sites where the weather window was too tight? Did a certain pilot consistently finish faster? Use this feedback to refine the next schedule. Over time, you will develop a rhythm that minimizes downtime and maximizes data quality.
Share lessons learned across the team. If a particular site has a recurring access issue, document it so future captures go more smoothly. Continuous improvement turns a good coordination process into a great one.